Instructions
Planting Materials Required

We Thank You For Your Business!
HI there! I'm Tinia the Founder and CEO of Re-Nuble. As a U.S. manufacturer and for-profit social enterprise, we strive to create lasting jobs with true growth and learning opportunities for our team and our community! By choosing to purchase from us, we're able to reinvest some of our profits into furthering research and development of climate mitigating technologies and supporting 501c3 non-profits that provide an educational component related to developing a sustainable and productive food supply chain.
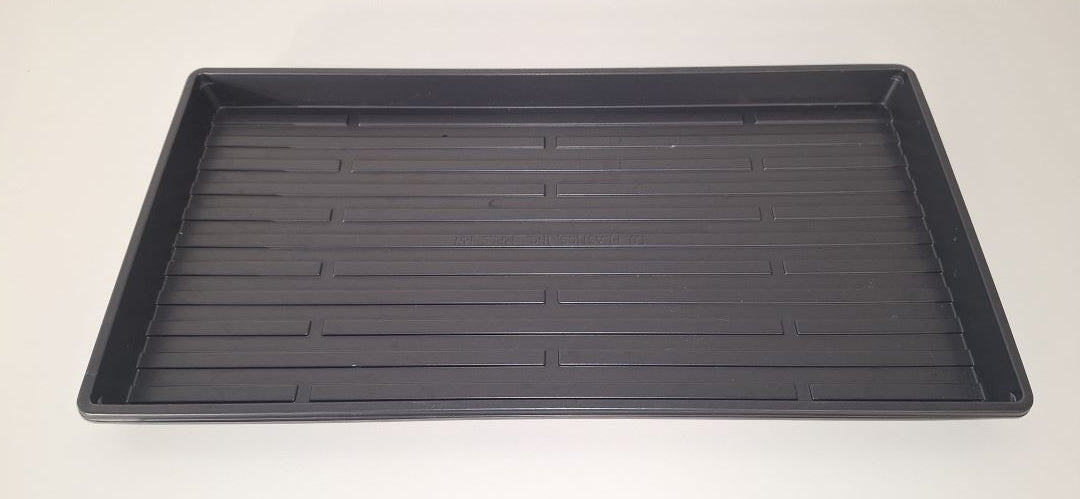
1) Lay Mats in 1020 Tray
Remove one ReNu Terra mat from the packaging and lay it flat in your 1020 seed flat insert (with holes or mesh).
Place your 1020 seed flat insert in your 1020 flat (no holes).

2) Wet the mats
Pour water into the seed flat until ReNu Terra mat is fully saturated; we recommend 8.5 cups (2L) of water into it.
Lift the 1020 seed flat insert (with holes or mesh) allowing excess water to drain out (30-60 seconds)
Pour out any excess water from the seed flat (no holes)

3) Seeding
Evenly sprinkle your seeds over the wet mat. See quantity as recommended by your manufacturer.
Thoroughly wet the sown seeds with a spray bottle. (This is to ensure the tops and bottoms of the seeds are in contact with water, which the seed needs to absorb to trigger germination)
Classic mats - Ideal for
microgreens & leafy greens.
Large Seed Format mats - Ideal for deeper
rooting plants like spinach & baby greens.

4) Germination
Place the seed flat cover over the seed flat insert with your mat and seeds. Do not touch it for 2 days.
After 2 days, check to see if your seeds are fully germinated. Fully Germinated seeds have produced a root and the first leaf.
If fully germinated, remove the lid.
If seeds are not fully germinated, spray with more water, replace cover and check again in 1 day.
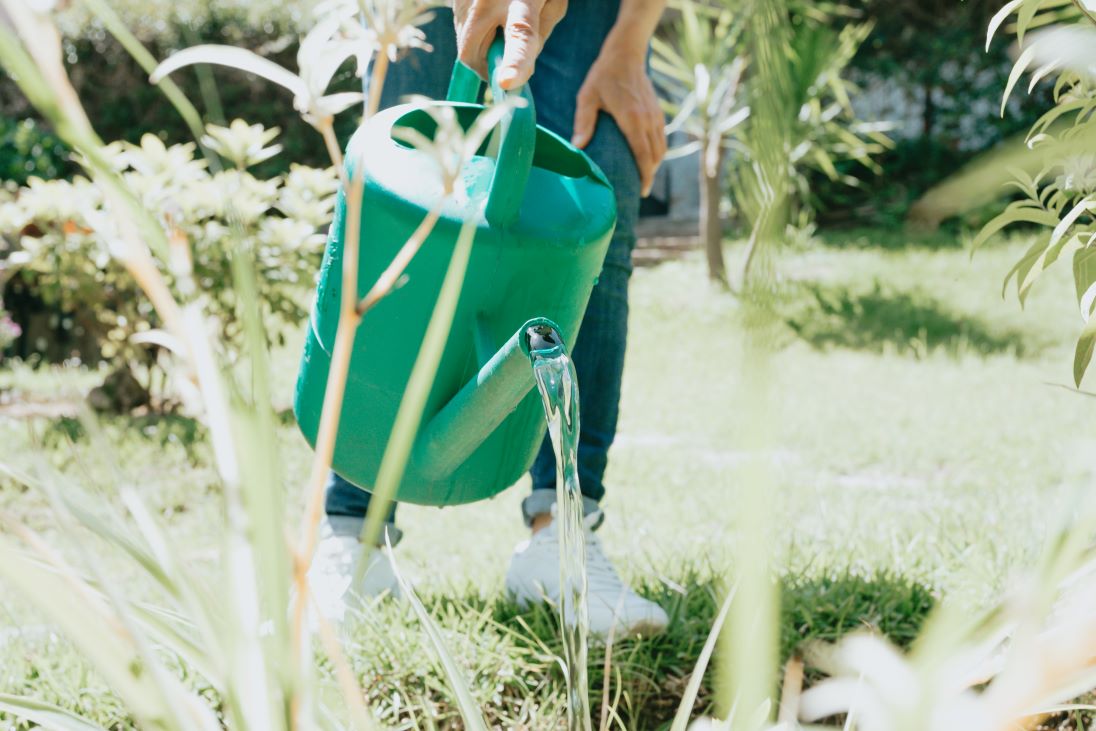
5) Irrigation
Maintain moisture by checking the seed flat daily. As your microgreens grow bigger, they will require more water.
Lift your seed flat insert. Add water to your bottom seed flat (no holes)
Place your seed flat insert in the seed flat containing water and let it absorb the water.
Lift the seed flat insert. Drain any excess water from the seed flat. Place the seed flat insert back in the seed flat.
If you want to grow your microgreens longer than one week after germination, be sure to apply fertilizer.
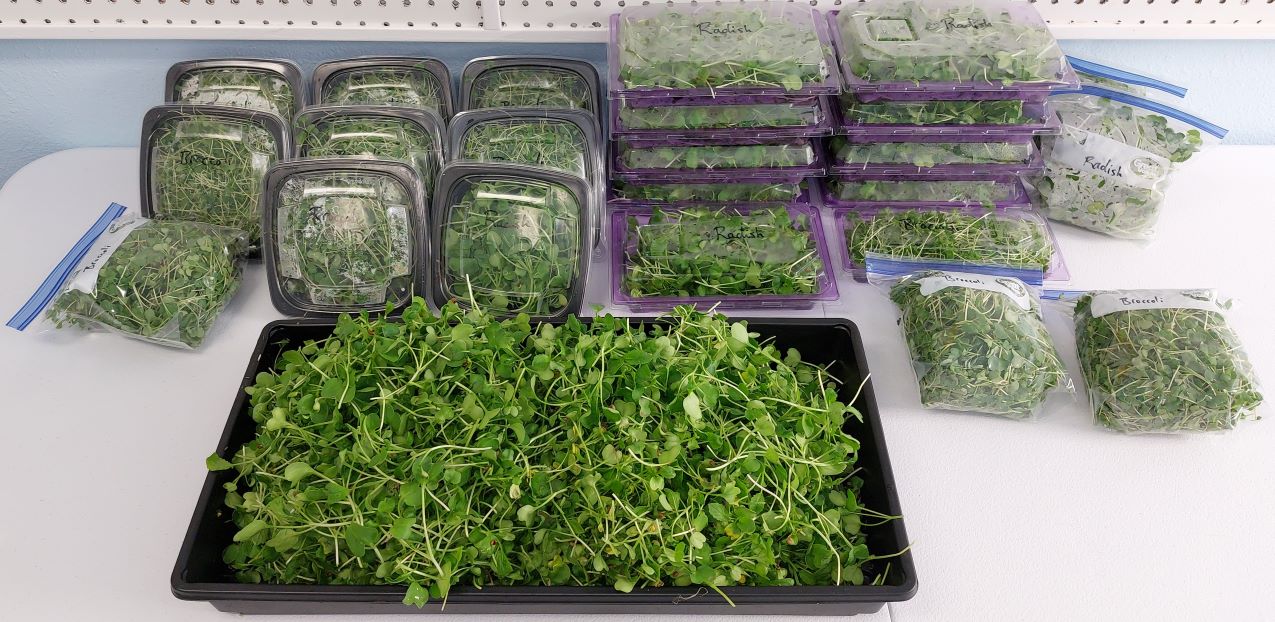
6) Harvesting
Remove the ReNu Terra mat from its 1020 seed flat insert and lay flat on a solid surface.
Use a knife or scissors to carefully cut the microgreens at the stem, just above the mat (about 1 inch from the mat). Harvest all the microgreens at once.
Lay your harvested greens on paper towels and tamp them to dry.
Place the microgreens in your storage container(s) and refrigerate until consumption.
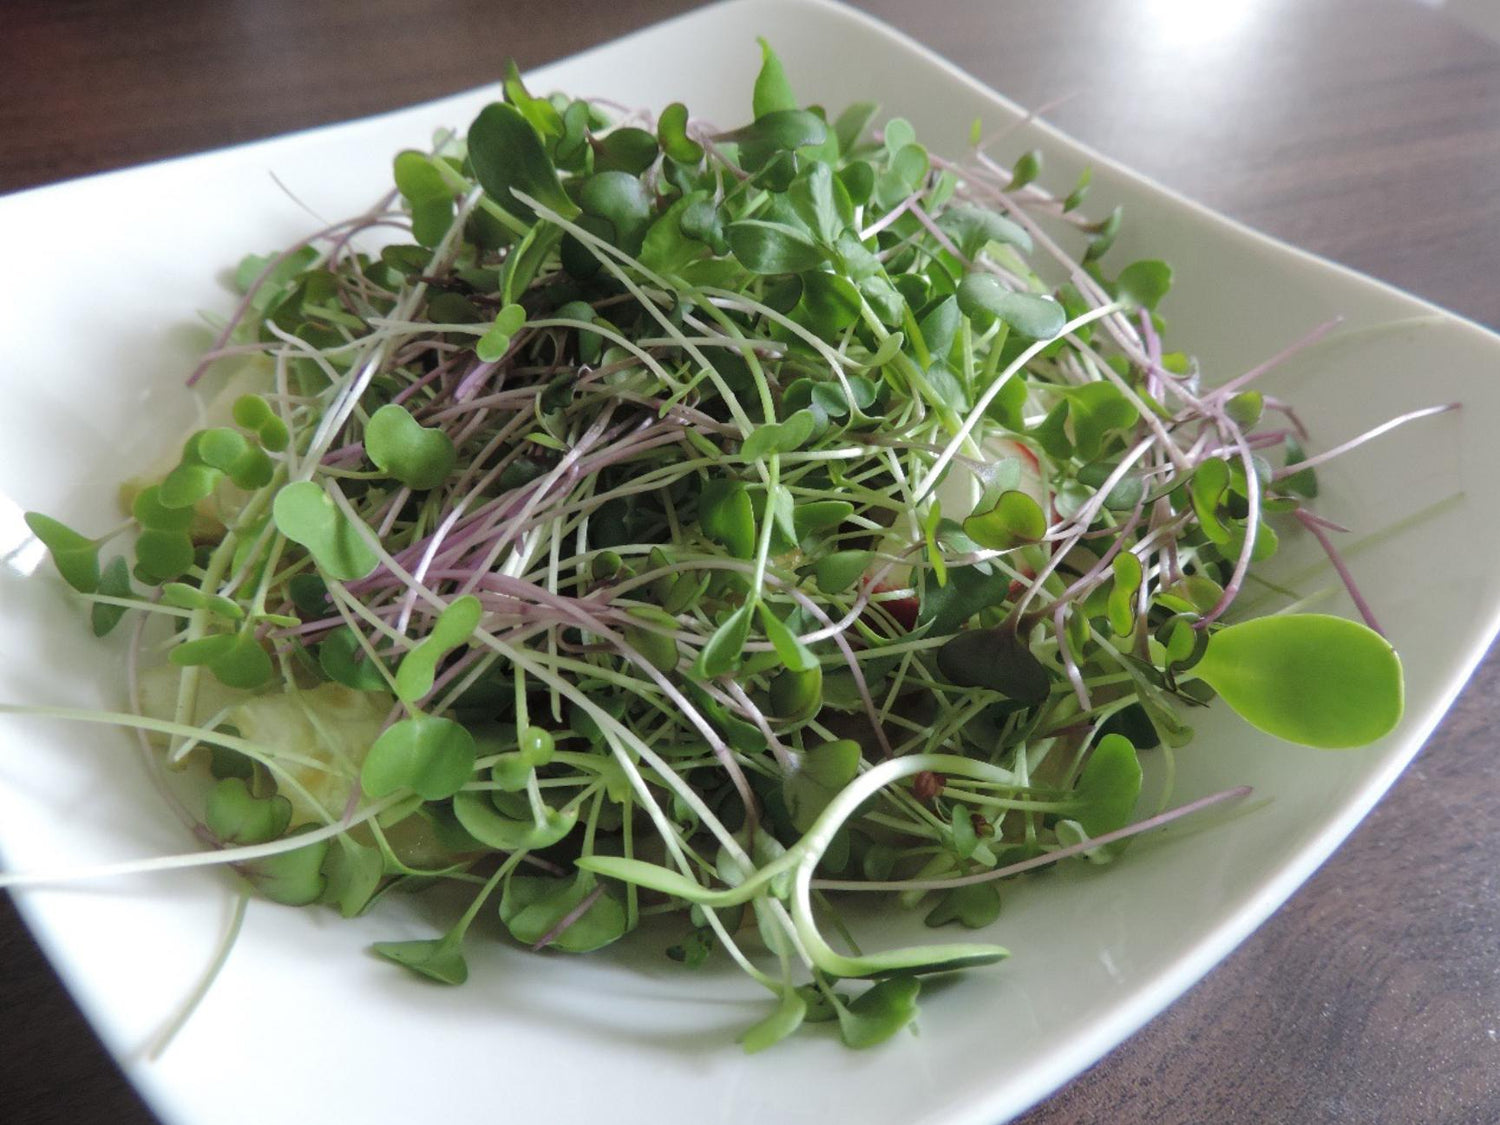
7) Eat Your Greens!
- Refrigerate until consumption.
- Consume with one week of harvesting.